Overlaying media using video masking
Add logos, chat bubbles, video and more to your footage using a video mask panel
Video masks make it easy to add media on top of your footage. Panel masking tools in Pinnacle Studio allow you to overlay logos, images, and video above your footage. You can create unique video mask panels to display your media through, reducing the need to edit files before adding them to your production. Not only are video mask panels customizable in shape and fully keyframable, you can also manipulate their position and motion in 3D to create depth.
Ask social media followers to subscribe, add branding to a promotional video, show a text conversation between friends and more with a panel video mask in Pinnacle Studio!
How to overlay media using a video mask
Let’s take a look at how we can add a chat bubble above our subject’s phone, giving us insight into his conversation without the need to cut the shot to his screen.
-
Open the mask creation window
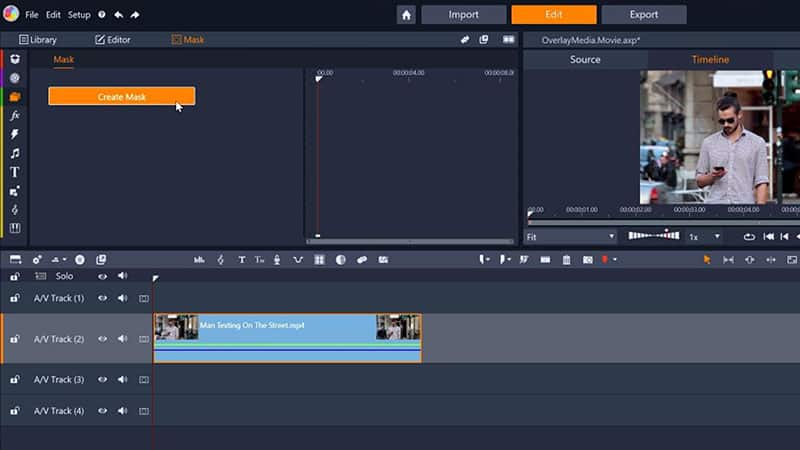
Select the clip that you want to add your media on top of, then click the ‘Mask’ button on the editing toolbar. Next, click ‘Create Mask’ to open the mask creation window.
![Open the mask creation window]()
-
Choose mask type
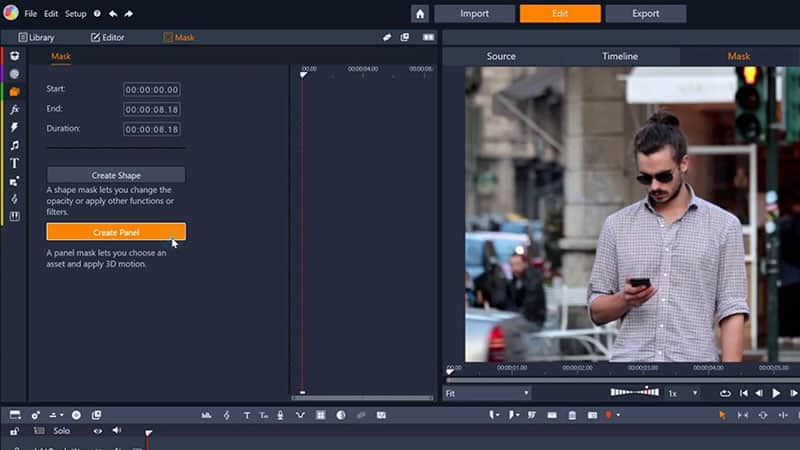
Begin creating a video mask panel by clicking ‘Create Panel’.
![Choose mask type]()
-
Create your video mask panel
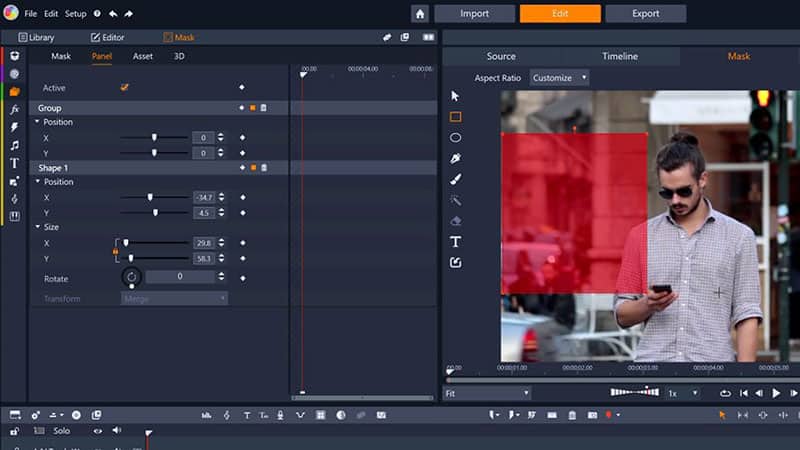
Use the panel of tools on the left hand side of the preview window to create your panel. Assets you add later will only be displayed over your video when they are inside this panel. Keep in mind that you can edit the size and position of your asset within the panel as well as the panel itself, so you may need to come back and make adjustments once your media has been added.
![Create your video mask panel]()
-
Add your media
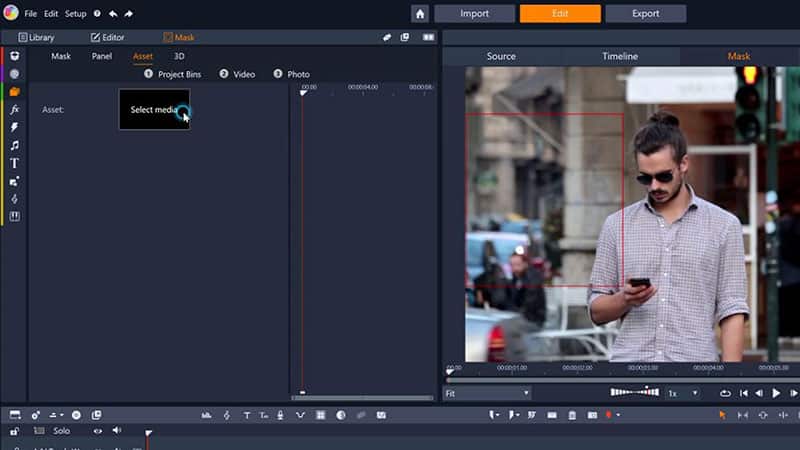
Click on the ‘Asset’ tab of the mask creation window to open the media selection options. Click ‘Select media’ to browse your imported files for the photo or video you want to display in your panel. Select the media you want to display, then click ‘Apply’ to add it to your panel video mask.
![Add your media]()
Explore video masking, color grading, and more pro-caliber features with Pinnacle Studio
-
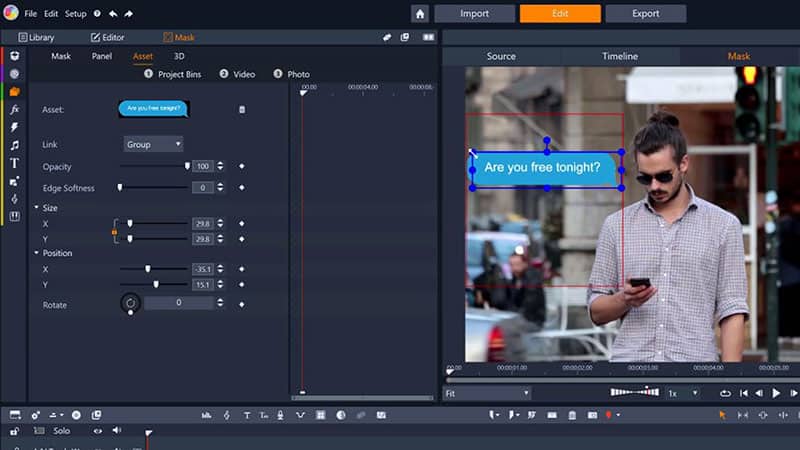
Adjust your media
Using the sliders on the left hand side, or the resizing box in the preview window on the right hand side, adjust the size and position of the media you’ve added to your panel video mask to fit your liking.
![Adjust your media]()
-
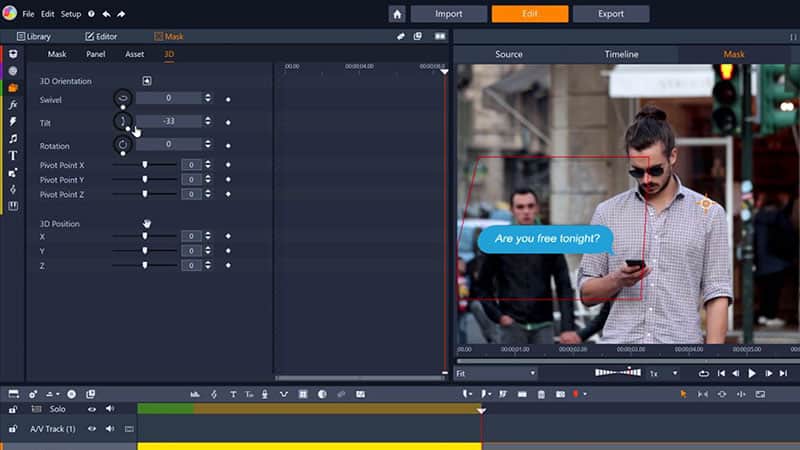
Adjust the 3D position of your video mask (optional)
Click on the ‘3D’ tab of the mask creation window to adjust the 3D position of your panel video mask.
![Adjust the 3D position of your video mask]()
-
Keyframe your video mask (optional)
You may want to add motion to your mask so that it follows your subject over the duration of the clip. Keyframe the motion of your mask panel by enabling keyframing in the options on the left, then scrubbing through the footage in the preview window and adjusting the size and position of your mask panel over the duration of your clip until you’re happy with it. You can customize the size, position, and 3D motion of the panel and/or your media with keyframes.
![Keyframe your video mask]()

You can add much more than just chat bubbles to your video projects using video masking panels. Add a logo, create and import a personalized title, remind followers to subscribe, and more!
Video masking can also be used to accomplish other pro-level effects. Take a look at how to hide objects from footage or apply creative effects using a video mask.