Censoring objects in your using video masking
Censor faces, license plates and other private or sensitive information
The ability to censor areas within your video gives you complete control over the content in your video projects. You can use the video masking tools in Pinnacle Studio to obscure faces, license plates, logos and other sensitive information. This means you can preserve the privacy of people or companies in your video and protect your audience from violent, inappropriate or other sensitive content without needing to reshoot footage.
How to censor objects using a video mask
Following the steps below, let’s take a look at how to apply creative effects to the background of this clip, leaving our subject unaffected.
-
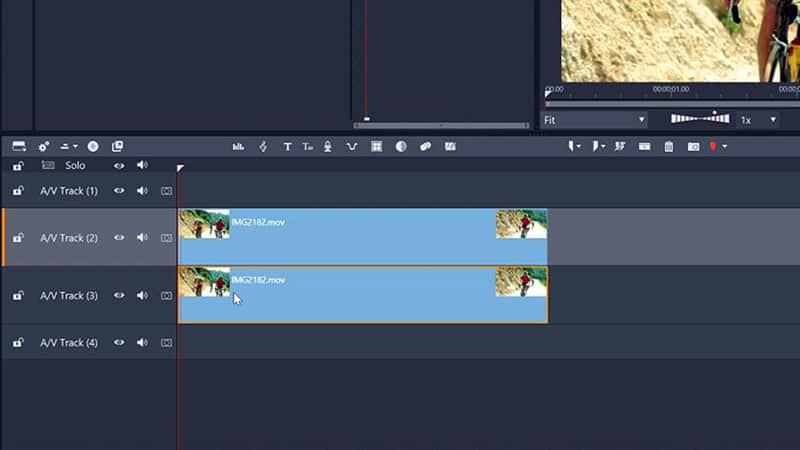
Duplicate your clip
Get set up to censor an object by duplicating your clip to the track beneath on the timeline.
![Duplicate your clip]()
-
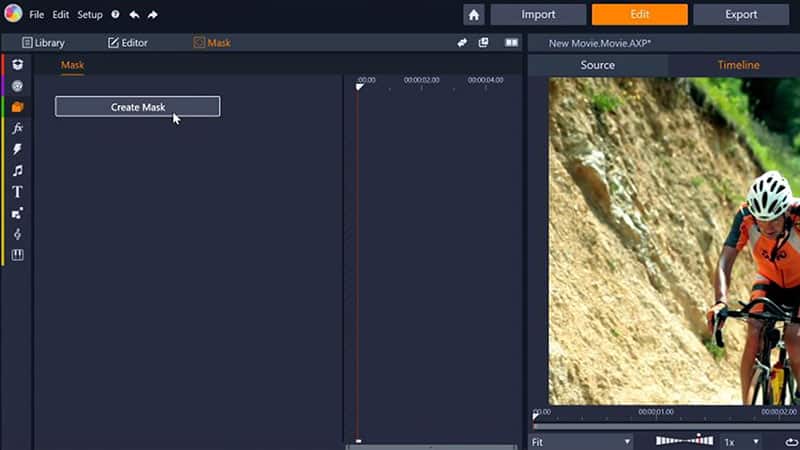
Open the mask creation window
Select the clip that you’d like to alter, then click the ‘Mask’ button on the editing toolbar. Next, click ‘Create Mask’ to open the mask creation window.
![Open the mask creation window]()
-
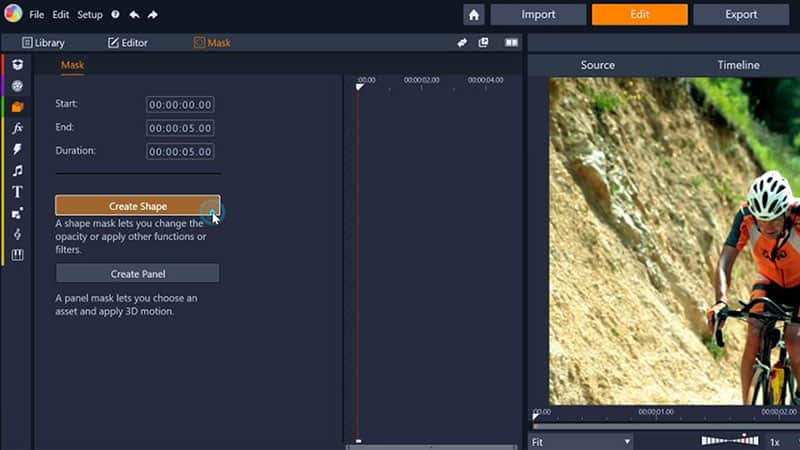
Choose mask type
Begin creating a shape text mask by clicking ‘Create Shape’.
![Choose mask type]()
-
Create the mask
Use the masking tools on the left hand side of the preview window to mask your subject. Once the mask shape is correct, You can also use the resizing box in the preview window, or the settings in the mask creation window to adjust the size and position of your mask.
![Create the mask]()

Explore video masking, color grading, and more pro-caliber features with Pinnacle Studio
-
Keyframe your video mask
If your subject moves over time, you’ll want to add motion to your mask so that it follows your subject over the duration of the clip. Keyframe the motion of your mask by enabling keyframing in the options on the left, then scrubbing through the footage in the preview window and adjusting the size and position of your mask over the duration of your clip until you’re happy with it.
![Keyframe your video mask]()
-
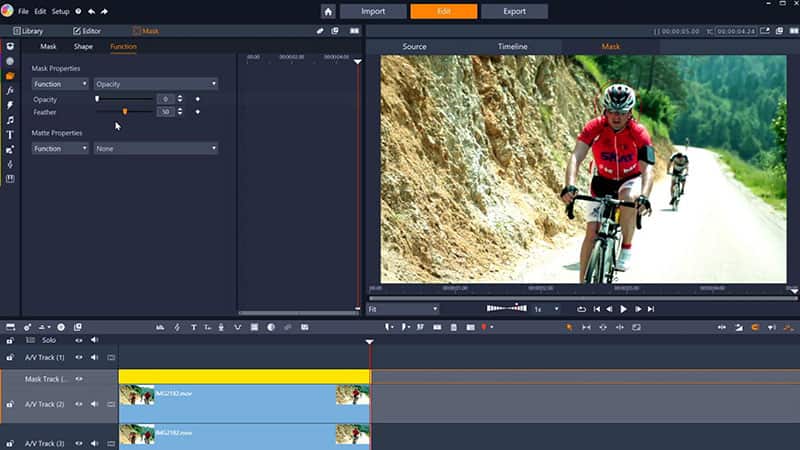
Apply the opacity function
Select the ‘Opacity’ function to your mask, and set the slider to zero to remove the area you are looking to obscure from your clip. Adjust the feathering to smooth the edges of your mask for better smoothing. This change will only be visible if you’ve already applied changes or effects to the duplicated clip beneath.
![Apply the opacity function]()
-
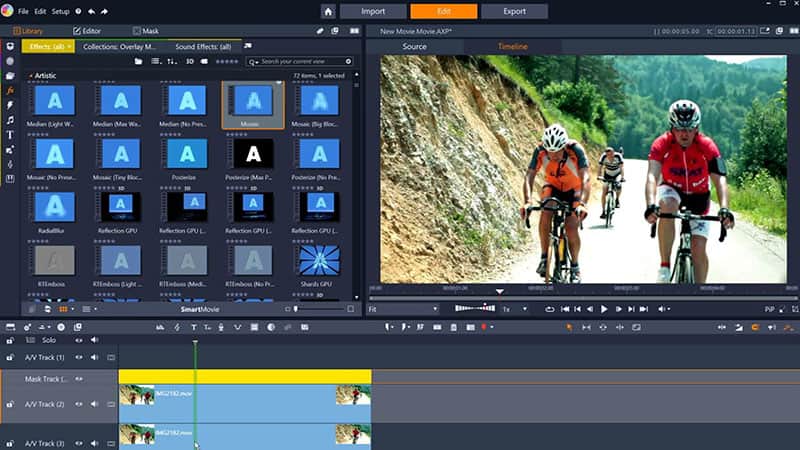
Apply an obscuring effect
Drag and drop the obscuring effect of your choice to the duplicated clip on the track beneath your masked clip on the timeline. The censored area of your video will now display through the area you removed with the mask on the clip above.
![Apply an obscuring effect]()
-
Adjust the effect (optional)
Double click on the effect on the timeline to adjust the intensity and levels to your liking!
![Adjust the effect]()


This process can also be used to enhance or creatively alter your footage! See the full process to target areas of your footage with visual effects using a video mask, or explore powerful title creation using a text video mask!