Using video masking to apply creative effects
Apply visual effects & enhancements to a subject within your footage
Video masking is a powerful tool for enhancing footage! You can use a video mask to target creative effects and enhancements to subjects or objects in your footage. This functionality makes them the perfect tool when looking to alter specific areas in a clip like the face of a subject, an object in the background, and even the color of the sky. Video masking can be used in combination with color grading and creative effects to brighten smiles, enhance faces, add color effects, and more!
How to apply creative effects using a video mask
Following the steps below, let’s take a look at how to apply creative effects to the background of this clip, leaving our subject unaffected.
-
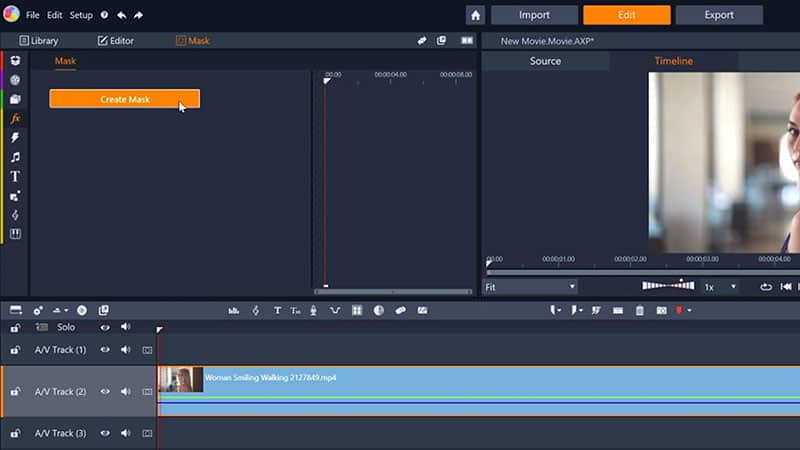
Open the mask creation window
Select the clip that you’d like to alter, then click the ‘Mask’ button on the editing toolbar. Next, click ‘Create Mask’ to open the mask creation window.
![Open the mask creation window]()
-
Choose mask type
Begin creating a shape text mask by clicking ‘Create Shape’.
![Choose mask type]()
-
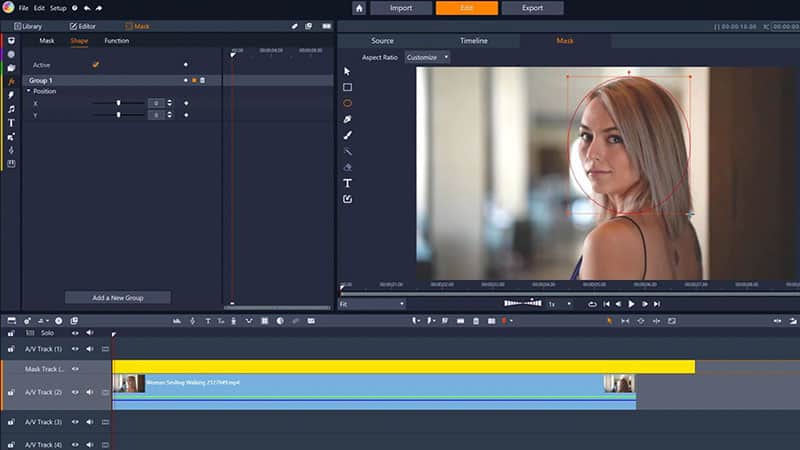
Create the video mask
Use the masking tools on the left hand side of the preview window to mask your subject. Once the mask shape is correct, You can also use the resizing box in the preview window, or the settings in the mask creation window to adjust the size and position of your mask.
![Create the video mask]()
-
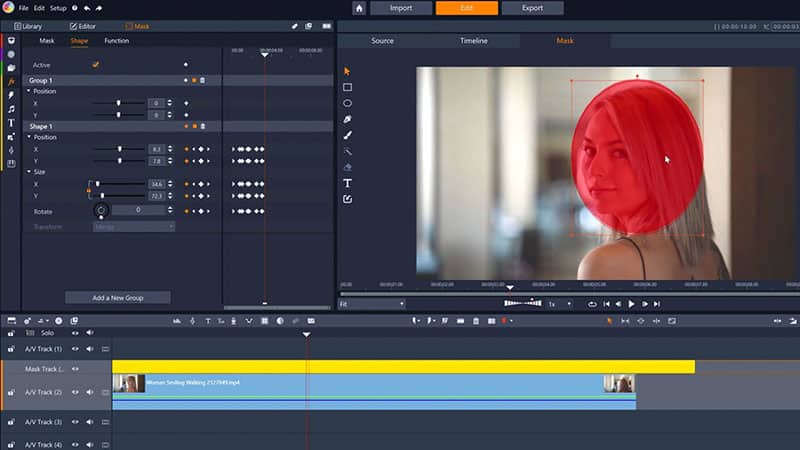
Keyframe your video mask
If your subject moves over time, you’ll want to add motion to your mask so that it follows your subject over the duration of the clip. Keyframe the motion of your mask by enabling keyframing in the options on the left, then scrubbing through the footage in the preview window and adjusting the size and position of your mask over the duration of your clip until you’re happy with it.
![Keyframe your video mask]()

Explore video masking, color grading, and more pro-caliber features with Pinnacle Studio
-
Apply a function, filter, or creative effect
To apply a function or filter:
Apply the function of your choice to your mask or the surrounding matte by selecting a preset from the dropdown menu, and customize it to your liking with the sliders that appear below.To apply a creative effect:
If you want to use one of the regular artistic effects or filters in Pinnacle Studio outside of the preset mask functions, you can do so by choosing the Opacity function for your mask or the surrounding matte to zero. Adjust the feathering on your mask to improve blending, and then proceed to the step below.![Apply a function, filter, or creative effect]()
-
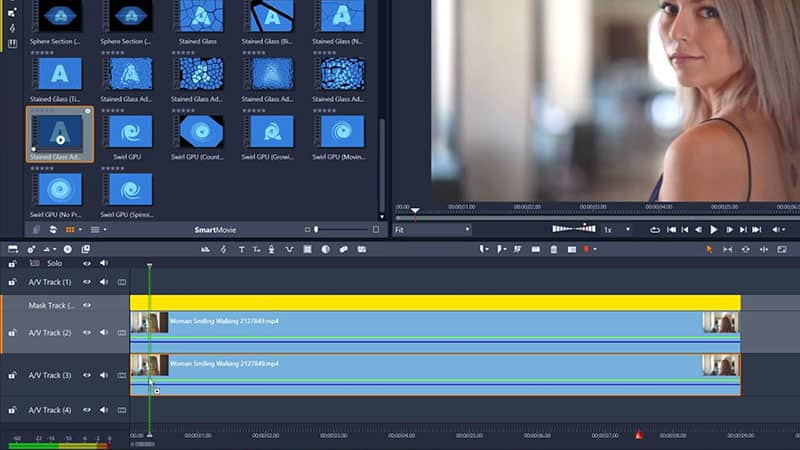
Duplicate your clip and apply an effect (optional)
Duplicate your original clip on the timeline to the track beneath, then drag and drop the filter of your choice to that clip to apply it. The opacity we set in our mask creation allows our filtered clip to show through.
![Duplicate your clip and apply an effect]()
-
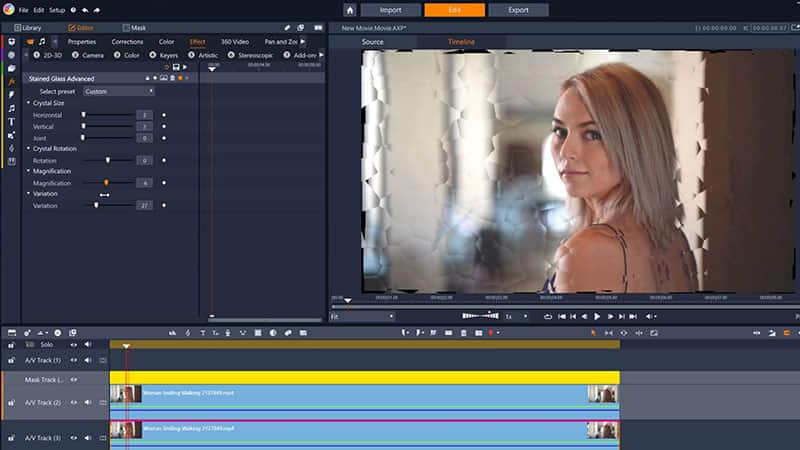
Adjust your effect (optional)
If you applied an effect outside of the normal mask functions, you can fine tune it to your liking by double-clicking the effect on the timeline.
![Adjust your effect (optional)]()

There are endless ways you can use video masking to take your video project to the next level! Go beyond basic effects with object removal, or add logos, images and other content to your video!