Color Grading: Tone Curve
Adjust the shadows, midtones, and highlights across colors independently
The Tone Curve can be used to control the shadows, midtones, and highlights in your footage. By default, the tone curve appears as a straight line from the bottom left to the top right corner of the tone curve grid. You can adjust the shadows, midtones, and highlights in your clip by clicking and dragging that tone curve!
The tone curve can manipulate all the colors in your clip simultaneously, or adjusted for Red, Green, and Blue individually. Making adjustments to each of the colors individually allows you to achieve much more subtle and artistic corrections, while adjustments using the RGB curve will adjust the tone across the entire spectrum.
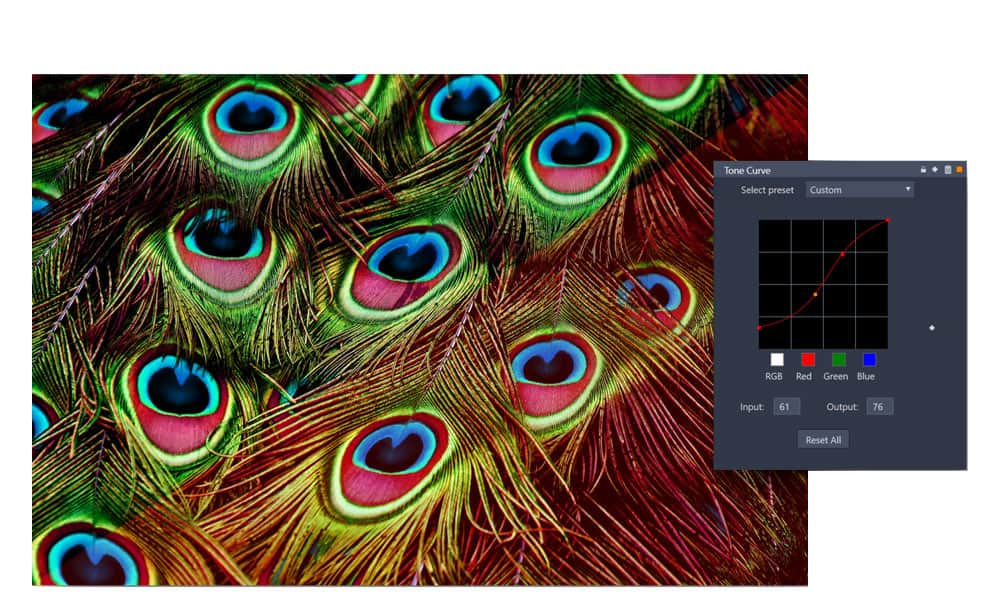
The Tone Curve is set up like a graph. The horizontal axis identifies the tone you are manipulating, while the vertical axis represents the intensity/brightness of that tone. This means that the point you choose will tell Pinnacle Studio what levels it should be adjusting, and the direction you drag the curve will tell Pinnacle Studio if you want to make that tone brighter or darker.
The tone curve is especially useful when looking to make adjustments to the intensity of colors that differ across the levels within the video. You can use the tone curve to draw the attention of your audience, correct for overexposure, make subjects pop, or add a sense of surrealism to your video project. It’s important to note that minor adjustments are normally best, as heavy tone curve corrections can quickly become unrealistic or distracting.
Explore video masking, color grading, and more pro-caliber features with Pinnacle Studio
How to use the Tone Curve controls
-
Open the color grading control panel
You can open the color grading controls for any clip by selecting clip, and then clicking ‘Editor’ on the timeline, or double clicking on the clip you’d like to make adjustments to, and select the ‘Color’ tab to open the color grading window. Ensure the ‘Tone Curve’ tab is selected to access the controls we’ll be using in the steps below.
-
Make desired adjustments
The adjustments you make to your clip will be determined by the effect that you’re looking to achieve. Select the white ‘RGB’ tone curve to adjust the shadows, midtones and highlights of your entire clip at once, or activate the Red, Green, or Blue tone curves to manipulate the levels of each color independently.
Click on the tone curve to add a point and identify the level you’re looking to adjust. Click towards the left end of the curve if you want to adjust the darker tones within your clip, and click towards the right end of the curve if you want to adjust the brighter tones within your clip. Drag your created point upwards to brighten those tones, or downwards to darken them. Add as many points as you need to create the effect you’re looking to achieve.
-
Keyframe your changes (optional)
Keyframing your color grading adjustments is not always necessary, but may help to ensure consistency through any natural variations in lighting and scenery that occur over the duration of your footage. Enable keyframing by clicking on the diamond beside the tone curve display, and add keyframes to fine tune the timing and strength of your adjustments over the duration of your clip.