Color Grading: HSL Tuning
Make minor shift in hue, adjust the saturation, and brighten or darken colors
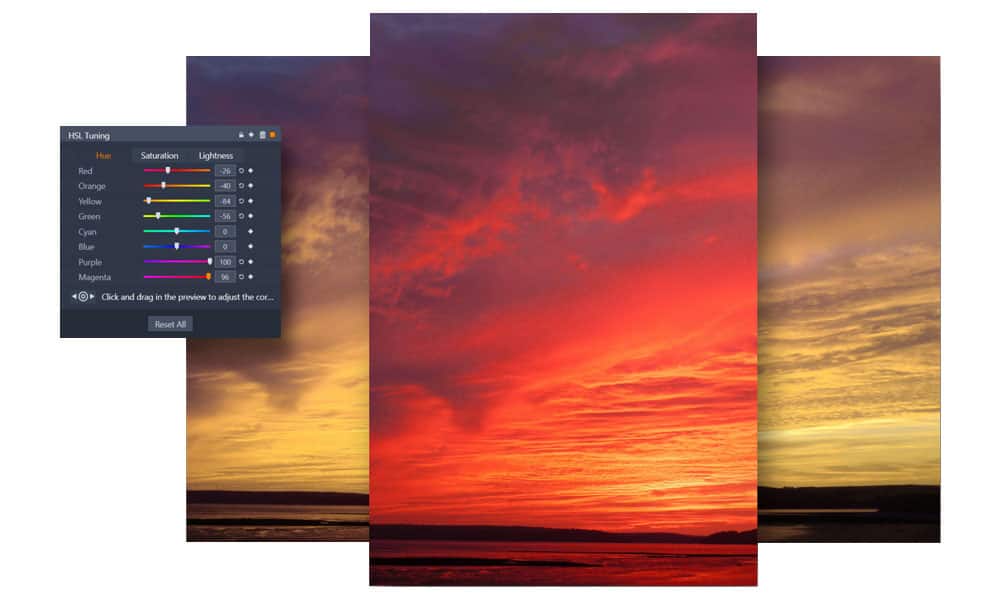
The HSL Tuning control panel contains settings used to adjust the Hue, Saturation, and Lightness of your video. HSL tuning can be used to make slight shifts in hue to individual colors, to desaturate specific colors and leave others for dramatic effect, and to brighten or darken those colors! Each panel of HSL tuning also features a Click and Drag tool that allows you to select a color from within your shot and adjust it directly by dragging to the left or right. Like the other color grading settings, these adjustments are fully keyframable so you can set up your adjustments to evolve as your video progresses.
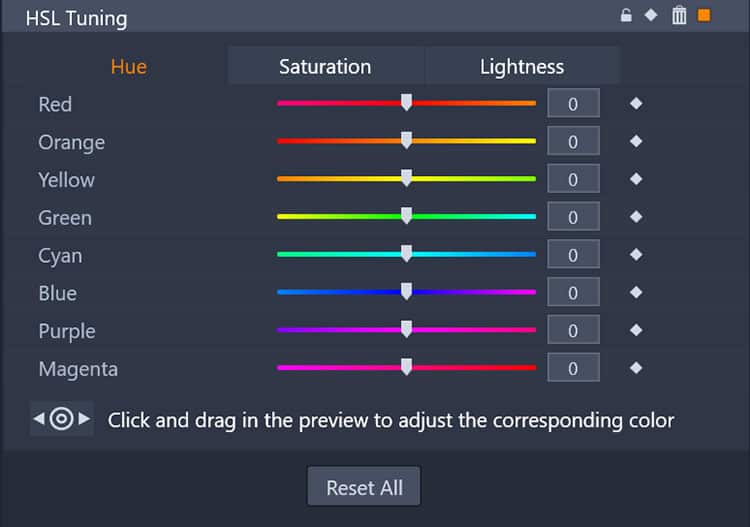
Hue
The color displayed in your video. These controls can be used to shift colors towards an analogous color. You can use these controls to shift reds toward magenta or orange, shift orange towards red or yellow, and more.
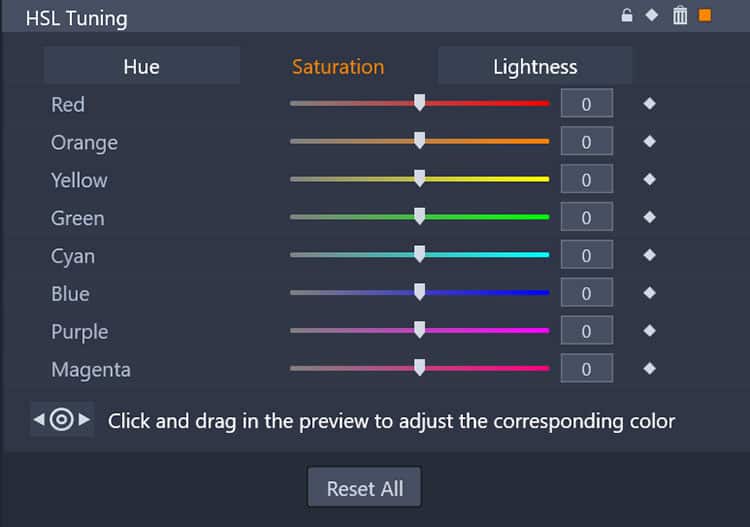
Saturation
The intensity of the color in your video. These controls can be used to increase the intensity of one or all of the colors in your shot, or to desaturate one or all of the colors for a black-and-white effect.
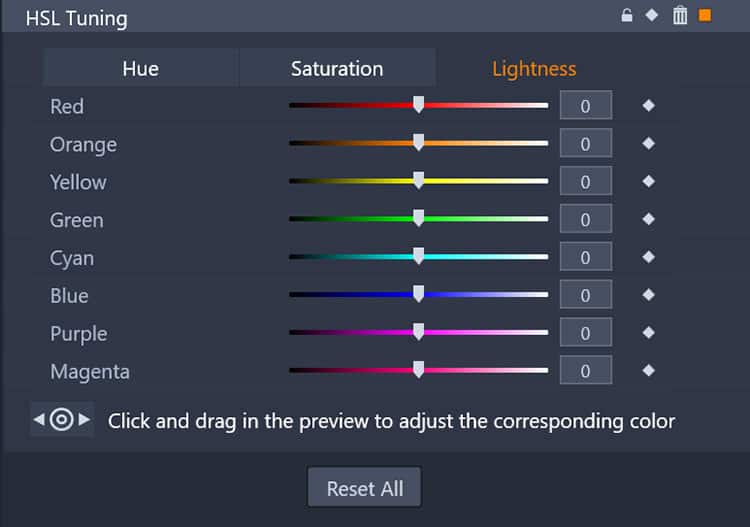
Lightness
The brightness of the color in your video. These controls can be used to fine tune your colors to better suit the mood you wish to set. Easily make colors dark and moody or bright and friendly by adjusting Lightness.
HSL tuning comes in handy when you’re looking to make focused changes to specific colors within your video. These changes may include adjusting the color of an object like a shirt, drawing audience focus by desaturating background colors to keep attention on a subject in color, deepening colors for creative effect, and more! Intensify a sunset, make a blue sky more vivid, make a green hat grey, and get creative.
Explore video masking, color grading, and more pro-caliber features with Pinnacle Studio
How to use the HSL Tuning controls
-
Open the color grading control panel
You can open the color grading controls for any clip by selecting clip, and then clicking ‘Editor’ on the timeline, or double clicking on the clip you’d like to make adjustments to, and select the ‘Color’ tab to open the color grading window. Ensure the ‘HSL Tuning’ tab is selected to access the controls we’ll be using in the steps below.
-
Make desired adjustments
The adjustments you make to your clip will be determined by the effect that you’re looking to achieve. You can use the slider controls in each tab to fine tune the colors in your video individually, or use the click and drag tool to intuitively select a color from within your shot, then drag to the left or right to adjust that color.
Changing colors too dramatically in these settings may cause visual corruption in your footage, so you may want to watch the preview window carefully and avoid large scale color changes made with only these settings. Spread larger color changes across settings, or try the Color Wheel Color Grading panel for easier shifts!
-
Keyframe your changes (optional)
Keyframing your color grading adjustments is not always necessary, but may help to ensure consistency through any natural variations in lighting and scenery that occur over the duration of your footage. Enable keyframing by clicking on the diamond beside the tone curve display, and add keyframes to fine tune the timing and strength of your adjustments over the duration of your clip.